npm
Learn how to add Shake to your Web app using npm.
You're viewing the Web docs. Other platforms → iOS Android React Native Flutter Chrome extension
Shake SDK npm package contains javascript code and CSS styles for Shake SDK.
Make sure that your project supports ES6 imports and that you are using CSS loader if you are using npm package. Otherwise, we recommend using Shake from CDN.
Create a new app on Dashboard
Visit your Shake Dashboard and add a new Web app by clicking the Add new app button located in the bottom right corner.
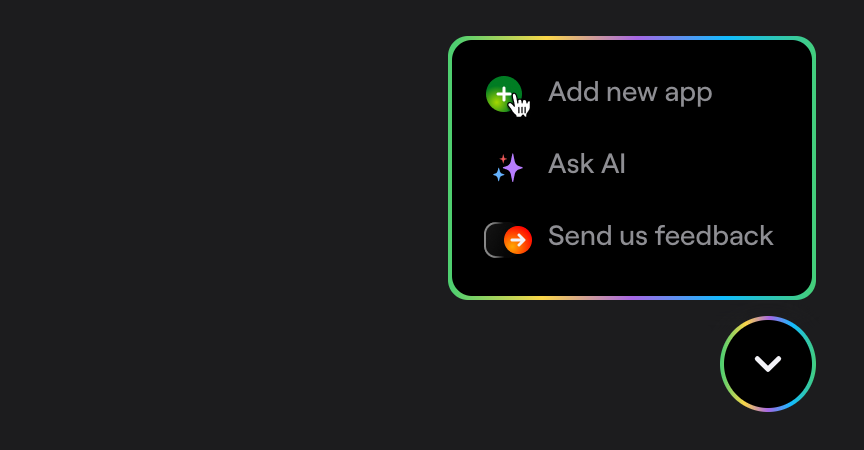
Once you're done, you're ready to proceed with the steps below.
Add Shake dependency to your package.json file
Execute the npm install command in your terminal:
npm install @shakebugs/browser
Make sure that you're using the latest Shake .
Initialize Shake
Call Shake.start() in your main file.
Replace app-api-key with the actual value you have in your app settings:
import Shake from '@shakebugs/browser';Shake.start('app-api-key');
Now build and run your project. Shake should be working, as simple as that.
Conditional initialization
We recommend initializing Shake in the entry point of your app. However, depending on your app, you'll want to initialize Shake just in a specific conditions, depending on your app data. You can do it as shown in the example below when your app data is available:
import Shake from '@shakebugs/browser';const MainScreen = (props) => {useEffect(() => {if (User.isTester) {Shake.start('app-api-key');}}, []);};
Visit your Shake dashboard
Follow the instructions there to send your first feedback with Shake and you're all set.
SDK customizations
Now that Shake SDK is in your app and you have sent the first feedback for fun, everything else is optional. As the next step, try the three most popular SDK customizations: