Manual linking
If you want to link library manually, you can do it this way.
You're viewing the React Native docs. Other platforms → iOS Android Flutter Web
Create a new app on Dashboard
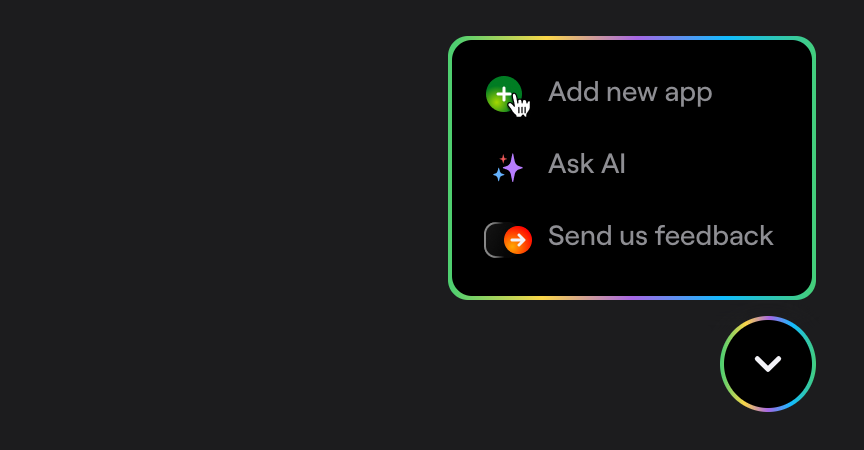
Visit your Shake Dashboard and add a new React Native Android/iOS app by clicking the Add new app button located in the bottom right corner.
On "Add app" screen, select React Native Android or React Native iOS app. Once you're done, you're ready to proceed with the steps below.
Android
Add the following lines of code to your settings.gradle file:
settings.gradle
include ':@shakebugs_react-native-shake'project(':@shakebugs_react-native-shake').projectDir = new File(rootProject.projectDir, '../node_modules/@shakebugs/react-native-shake/android')
Then, include the following dependency to the app-level build.gradle file:
app/build.gradle
dependencies {implementation project(':@shakebugs_react-native-shake')implementation fileTree(dir: "libs", include: ["*.jar"])implementation "com.android.support:appcompat-v7:${rootProject.ext.supportLibVersion}"implementation "com.facebook.react:react-native:+" // From node_modules}
Update the getPackages() method:
MainApplication.java
@Override protected List<ReactPackage> getPackages() {@SuppressWarnings("UnnecessaryLocalVariable")List<ReactPackage> packages = new PackageList(this).getPackages();// Packages that cannot be autolinked yet can be added manually here, for example:// packages.add(new MyReactNativePackage());packages.add(new ShakePackage());return packages;}
iOS
- Open your project in Xcode by clicking project's .xcodeproj file.
- Copy RNShake.xcodeproj from $rootDir/node_modules/@shakebugs/react-native-shake/ios/ to the Libraries folder of your project.
- Drag libRNShake.a from the Libraries / RNShake / Products folder to Link Binary With Libraries in the Build Phases section.